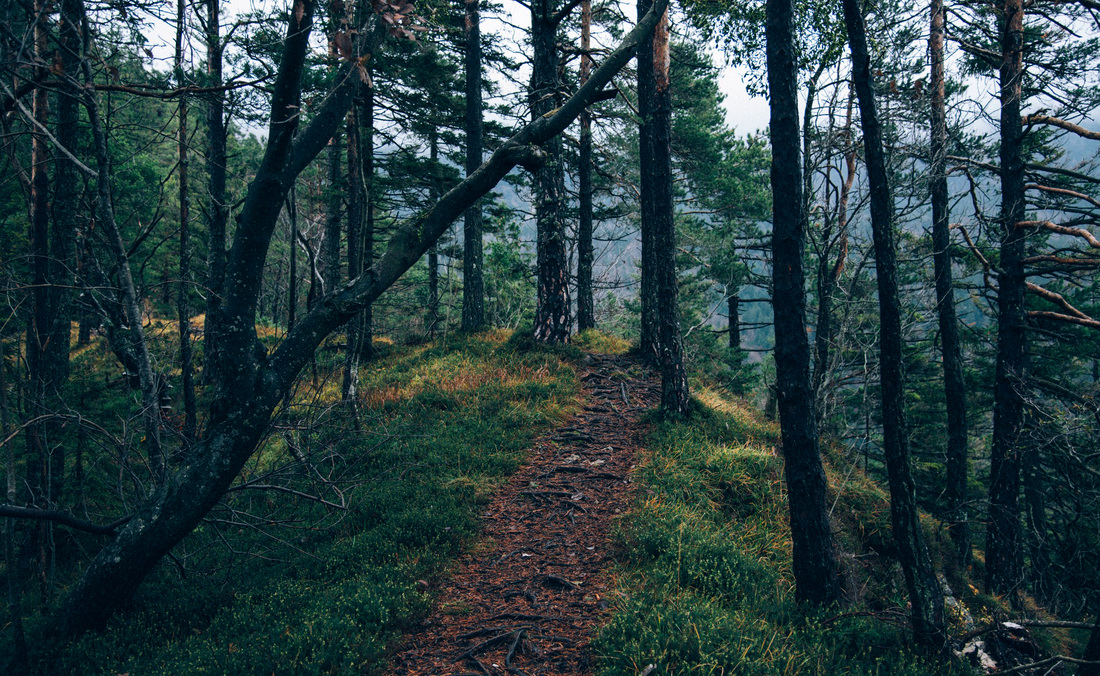
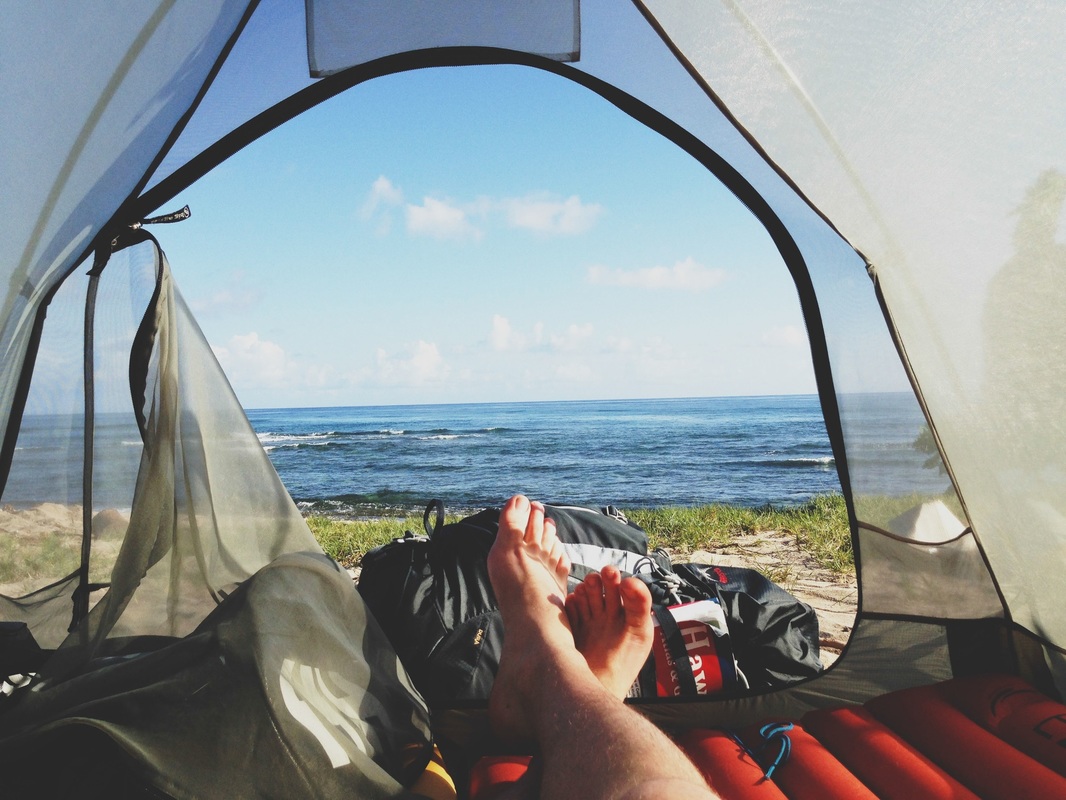
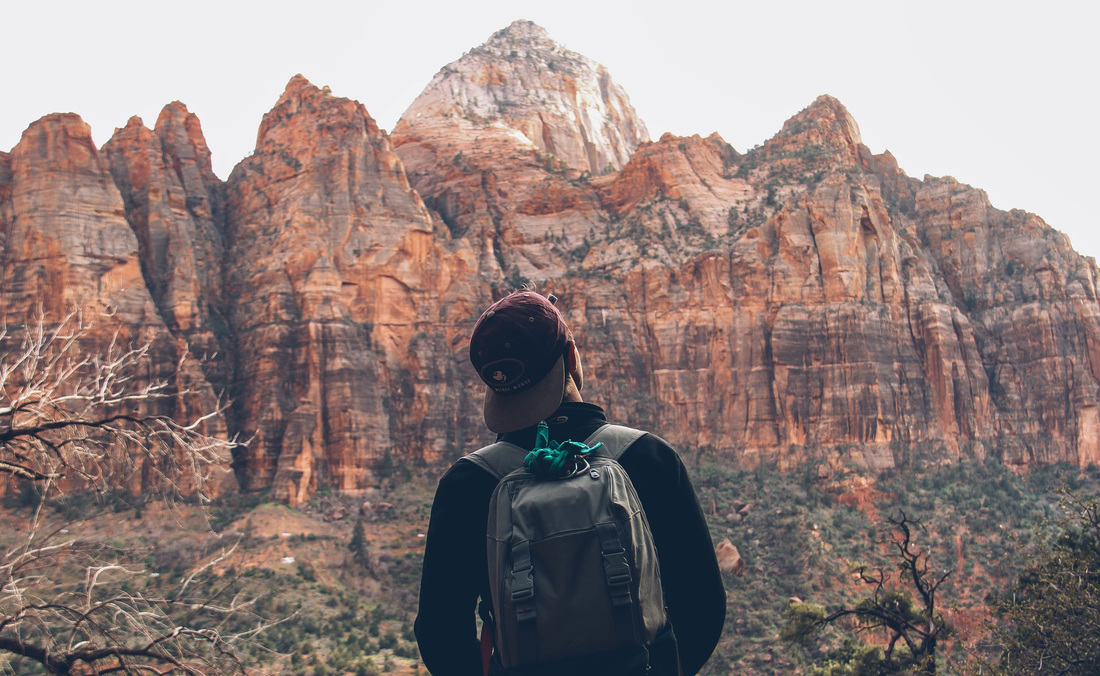
I'm James. This is my year of travel.
 It might need a bit more color erase too, as the top of the image has a different background tint.įor the second panel, that's going to need some similar care to remove the stains, but with the added complication of the background detail. I'm not going to do the text here, as that's just more fiddling, but the concept is the same. There's not a lot that can be done about that automatically, as the image data and defects are very similar. If you have defects in an image area, you might need to fix it manually, for example with the Clone tool. You don't need to worry about anything significantly lighter than the lightest detail of the image, but it doesn't hurt to hit anything if you're in an area. The first thing to do is to use the normal Eraser tool to wipe out major noisy features, for example the shadowed images and dark spots. Most of the junk left now is actually darker than than the light areas of the image, which means that you can't just hit it with the eraser or levels and hope for the best. Then you can select a new background color and erase it again, repeating a few times if needed:įrom here, it starts to get more fiddly. At this point, I remove the top layer alpha channel ( Layers > Transparency > Remove Alpha Channel), then add it back, to "reset" it. if you try to use the dropper tool on the background now, you'll see the color is much more intense than it looks. The top layer is now a gauzy mess of quite intense color with a low alpha. There's still some color left in the background, which is because the color we erased isn't exactly the background color of the whole image. We now have a lot more contrast between background and image. You should see the bulk of the sepia color fall away, leaving you with a fairly pale background and the image: Choose a large size, and paint over the entire image. Now, select the Paintbrush Tool, and in the options, put it into Color erase mode. Using the dropper tool, select a "representative" sample of the sepia background. As we erase the color we don't like, the white backdrop will shine through. Add an alpha channel to it ( Layer > Transparency > Add Alpha Channel). Now, re-select the original image layer (should be the top layer). Without that, you'd get a the checkerboard grid, which will drown out image details. Then, add a white layer under the image to act as a backdrop when we start erasing things. Let's start with opening the file in GIMP. In your case, the blue areas might need to be re-saturated or otherwise boosted afterwards to restore intent, as it's pretty faint, even in the original. Final color adjustments based on the image properties.Manual erasing of dark spots which are darker than light "image" areas, as these can't be done using levels.Color erase tool to remove the bulk of the sepia color.Besides, YT has quite a few video instructions on how to do this.There are different ways to do this, but the way I would do it in GIMP is roughly: Gimp is partially free, as far as I can tell. On Corel PaintShop Pro X6, I usually process photos, I have an XP system, so newer versions do not work for me anyway because they are on a 64bit system. I don't know if the gimp is so equipped with helper functions but rather these are the basic options it should have. 3) Another option is to paint the shadowed areas with a white blurred brush. we want the selection to only include a light shade, in this case the white background minus is a white T-shirt which can also be partially selected for this you need to manually mean. The option is a bit time-consuming, but there is a magic stick that automatically marks the area that we want to mark by setting the appropriate tolerance of the selection, i.e. 
2) Another way is to cut the edge of the area in this case of a woman, invert the selection and cut out the background with shadows, or fill it with white paint. 1) You can create a white layer and overlay this photo and erase the shadow area and the white background covers itself, then you combine the layers together. In general, when it comes to changing the background to a solid (white), there are several ways and tools to achieve it, and each has its own one that suits them and has learned.  
I will not comment on the Gimp because I prefer other graphics processing programs.
0 Comments
Leave a Reply. |
AuthorWrite something about yourself. No need to be fancy, just an overview. ArchivesCategories |
 RSS Feed
